Worm castings, also known as worm manure, have become a popular eco-friendly fertilizer among growers. They are produced from earthworms’ waste. Earthworms excrete a mix of microorganisms, enzymes, microfibers and nutrients that promote and accelerate marijuana growth.
The type of fertilizer used for cannabis growth can impact heavily on the quality of marijuana harvested. Where low quality fertilizer is used, the results will be low quality cannabis and vice versa. Cannabis growers have been warned to avoid chemical fertilizers. These fertilizers are laden with harmful elements that can potentially affect the health of the end consumer.
In this article we will explain the benefits of worm castings, and teach you multiple ways to make your own worm castings.
When you are done reading, be sure to also read our article ‘11 Ways To Make Your Own Homemade Cannabis Fertilizer‘.
Pros and cons of worm castings as marijuana fertilizer
Worm castings have been used as fertilizer for a variety of plants growing needs such as farming. While used as a cannabis fertilizer, it can have both merits and demerits like other types of fertilizers. Below are the pros and cons of utilizing worm castings as marijuana fertilizer.
5 Pros
- Worm castings make soil conditions favorable for marijuana growth. Castings alter PH levels in the soil, giving it moderate levels that favor the growth of marijuana plants.
- Worm manure enriches the soil with essential nutrients, microorganism and microfibers needed to grow potent cannabis. Cannabis strains grown using worm castings have high cannabinoid and THC profile.
- The rich organic matter present in worm castings are crucial for healthy roots. Castings have long been associated with lush, cannabis plants.
- Worm castings prevent the soil from losing nitrogen as opposed to some of the chemical fertilizers used for cannabis growing. Instead, these castings have nitrogen-fixing bacteria which enhance proper root growth in marijuana plants.
- Worm manure isn’t affected by temperature. The fertilizer is perfect to use during cold weather. It can withstand cold temperatures without losing its effectiveness.
4 Cons
- Making worm manure takes time. On average, it takes 90 days to create this manure. Making the manure is also labor-intensive
- Worm castings are more expensive than chemical fertilizers on average.
- The manure is sustainable only when produced in small amounts. Large scale cannabis growers can’t rely on the manure. It would take years for these growers to make enough manure got all the cannabis plants.
- Castings produce harmful greenhouse gases while decomposing. Some harmful gases associated with castings include methane and nitrous oxide.
Because the biggest problem with worm castings is the high cost, we will teach you cheap ways to make your own worm castings.
Why are worm castings one of the best fertilizers?
Worm castings are essential for cannabis growth for good reasons. They pack virtually all the nutrients associated with marijuana growth. Unlike most organic and chemical fertilizers which have limited nutrients, castings pack tons of nutrients needed for marijuana to reach maximum growth. Among the key nutrients in worm castings include copper, calcium, boron, zinc, magnesium, cobalt and potassium.
The other merit of worm castings is that, they can easily dissolve in water compared to the regular fertilizers. Cannabis plant can therefore absorb castings quickly. With worm manure, your plants won’t miss the nutrients that aren’t found in most organic fertilizers. They will never grow weak or wither along the way.
Worm castings modify the soil PH without suppressing the soil quality. The substrates contained in these castings don’t ruin the roots of the cannabis plants, unlike those present in harsh, chemical fertilizers. Your plants won’t be affected even when castings are used in excess.

Worm castings are a fertilizer, not a growing medium
Cannabis and other plants are grow on the soil. In this case, soil is the growing medium of almost all the vegetation on the globe. Cannabis can’t grow in 100% worm manure. In other world, cannabis needs a soil environment it can thrive on.
Worm castings are a fertilizer at their best. They can only support plant growth rather than act like a growing medium. As a fertilizer, castings provide the soil which plants are grown on with beneficial microbes. Such microfibers are crucial for a flourishing soil environment. Soil laden with worm castings has over 100 bacteria more than the regular soil.
Worm castings improve soil quality when used as fertilizer. They increase the soil’s surface area, providing room for better water drainage and aeration. Casts help the soil to form aggregates. This prevents soil erosion, besides countering soil compacting.
The idea behind using worm castings in cannabis farming is purely for promoting plant growth, and increasing yields. Worm castings are not used to provide the cannabis plants with a growing medium. Even in vast quantities, castings can’t make a good growing medium. The plants would still lack the essential nutrients found the soil even if worm manure were to be the growing medium.
How to make your own worm castings/ what is vermicomposting?
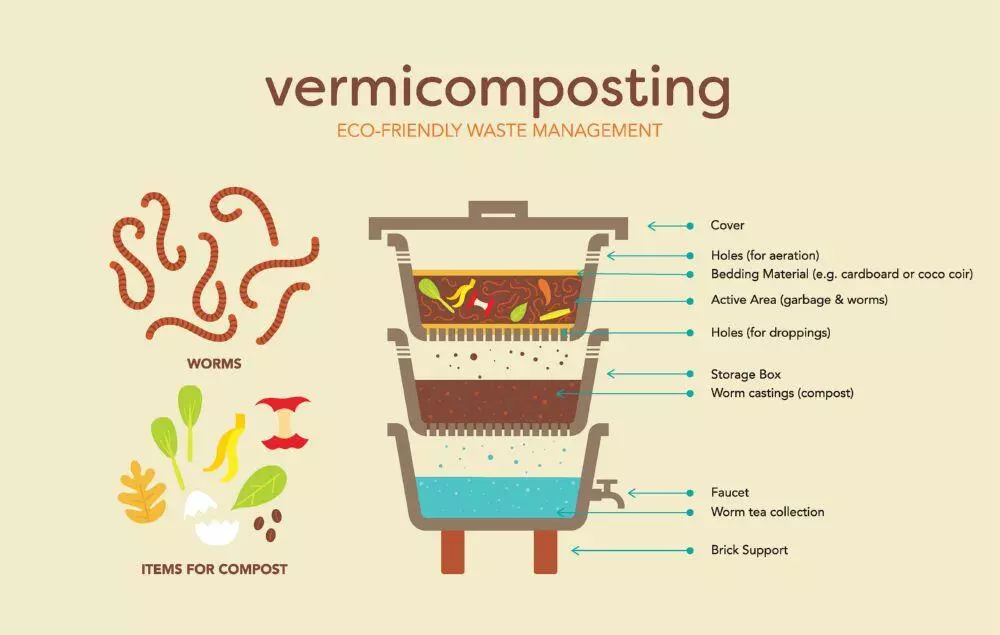
Worm castings are made via a process called vermicomposting. This process entails decomposing waste from specific earthworm species to produce a special compost known as vermin-compost, or worm castings. Cannabis growers have since leverage this organic fertilizer to grown fine strains. Here are simple steps on how to make your worm castings.
Using a vermicomposter
A vermicomposter is easy to make especially if you like making things, since they can get quite expensive when buying them in a store. A vermicomposter is basically multiple boxes stacked on each other, with holes in the bottom. The lowest bin has no holes in the bottom to prevent water from flowing out. You add your worms and the food scraps in a bin, and once the worms are finished you add another box on top and add new food in that bin. This makes the worms migrate to the new box with the food, which leaves you with the composted food and worm castings. The lowest box is always empty to catch any excess water, which is great to use as compost tea. When stacking multiple boxes you only have to water the top box, and the water will flow through all boxes.
Check out this youtube video to see how you make your own vermicomposter:
Worm composting in a box or bin
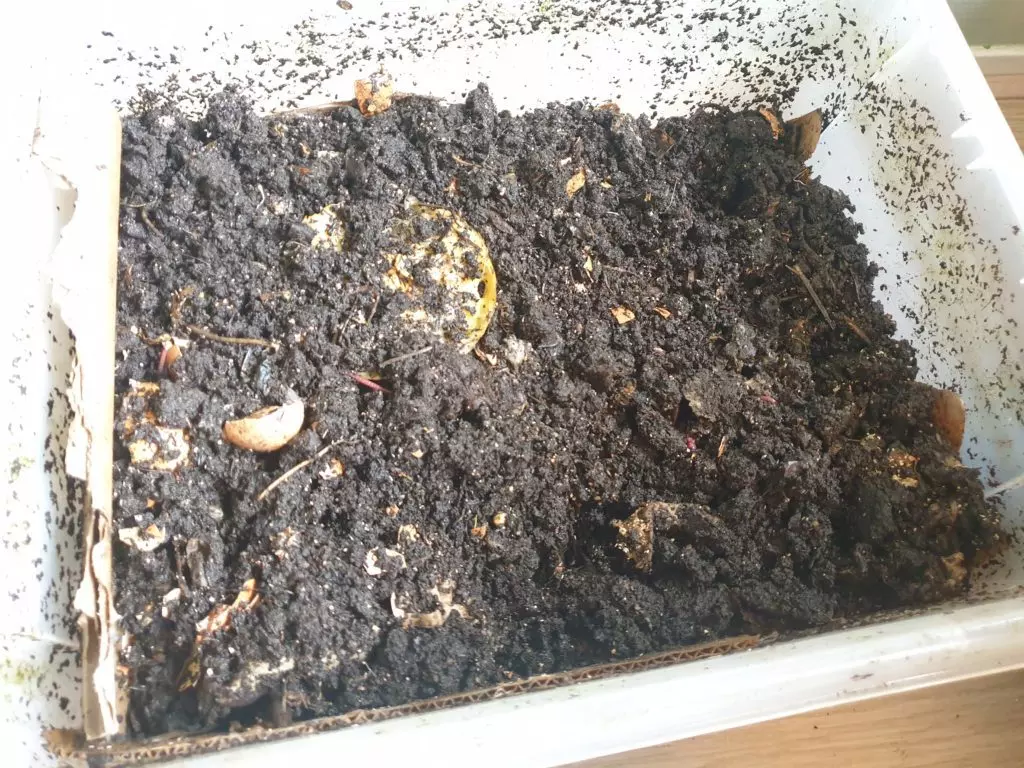
A lot of people also make worm compost in boxes or bins, because it is really simple to get your hands on and to manage. Al you need is a box, organic matter, the bedding and the worms. Keep in mind that air circulation is really important in boxes, so make sure it isn’t closed. Without air circulation a lot of mold will grow on the food scraps, causing the worms to die.
Check out this video to see how to make a worm bin:
Inside or outside
In the winter it is often too cold outside for worms to survive, so it is smart to put the worm bin in a shed. Also, when the temperature is too low, worms start composting way less then when the temperature is right. It is also possible to place a bin outside in your garden, drill holes in the floor of the bin and wait for the worms to arrive. The worms are attracted by the food you put in the bin, so they will crawl through the holes naturally. Make sure the holes are big enough for a worm to go through. It is also smart to put airholes in the bin, and close the top. This way no rats, birds or other animals can enter your compost bin to eat the food scraps, but enough fresh air can go into the bin.
Another way people use the worm bin to fertilize the garden directly, is by digging in the worm bin. In this setup you put holes in the bottom and in the sides of the bin, and you dig it in with the top of the bin above the ground. This way you can add ventilation holes above the ground, and worms can enter and leave the bin whenever they want. This has the benefit to attract alot of worms, which multiply in the bin, and then leave the bin to fertilize the rest of the garden. Another pro is that worms can leave the bin whenever they want. This comes in handy whenever something is wrong with the bin, for example when the ph is too high or too low, or the bin is poisoned by adding the wrong food scraps. Because worms can just leave they won’t get trapped inside the bin and die. This is a really low maintenance way of vermicomposting, because the only thing you have to do is add some moisture and food scraps from time to time. Having the bin in the ground also protects the worms from frost in the winter.
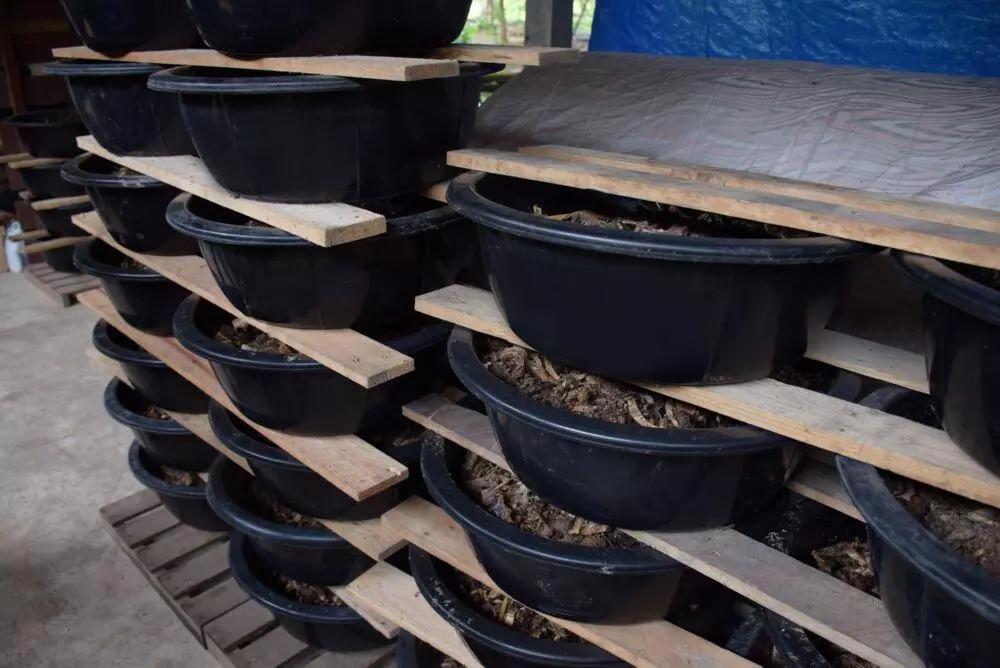
Preparing the worm bin
There are a lot of materials you can put in a worm bin. Personally, I always start with a layer of shredded paper in combination with shredded cardboard. Worms really love cardboard, not only because they can eat it, but also because it contains air inside and because it is a nice place to lay their eggs. Spray the first layer of paper/cardboard with water, so the material is damp. I always sprinkle some used coffee grounds over the paper/cardboard, worms love that. Now either add some ground from the garden, or add a layer of leaves. Now you do another layer of shredded paper + cardboard, and another layer of ground or leaves on top of that. Now you the last layer of shredded paper/leaves, and add food scraps on top of that. Extra tip: worms really love tomatoes. Usually it is best to add food scraps on top, because it does not get enough air to decompose properly in the ground, which can result in the food scraps poisoning the worm bin. Make the bin wet after each layer, but not too wet.
Feeding the worms
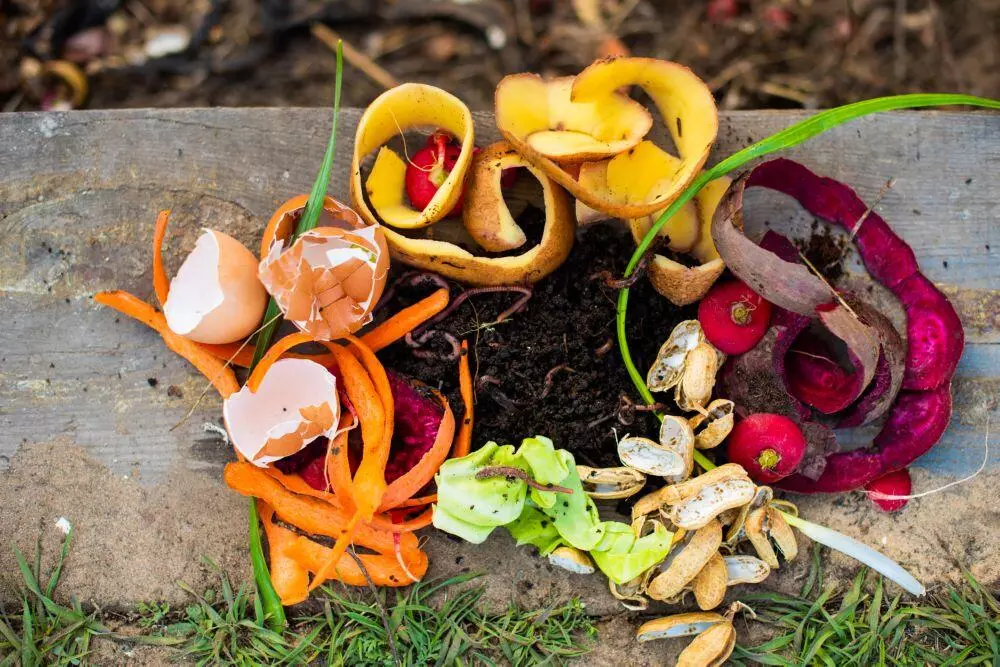
On top of the bin you can add food scraps regularly, in combination with used coffee grounds and crushed egg shells. Never use fresh coffee grounds, because it changes the ph levels of your bin too much, to a level in which worms cannot survive. The crushed eggshells are really nice worm food, and help to neutralize the change in ph levels the coffee grounds can cause. It is important to never add too much coffee grounds. Food scraps which worms love, include:
- Banana peels (cut them up in small peaces for faster decomposting)
- Tomatoes
- A slice of melon
The key is to give lots of different kinds of food, to make sure the compost contains a lot of nutrients. Banana peels have some nutrients not available in other food scraps, so they are the most important for a healthy compost.
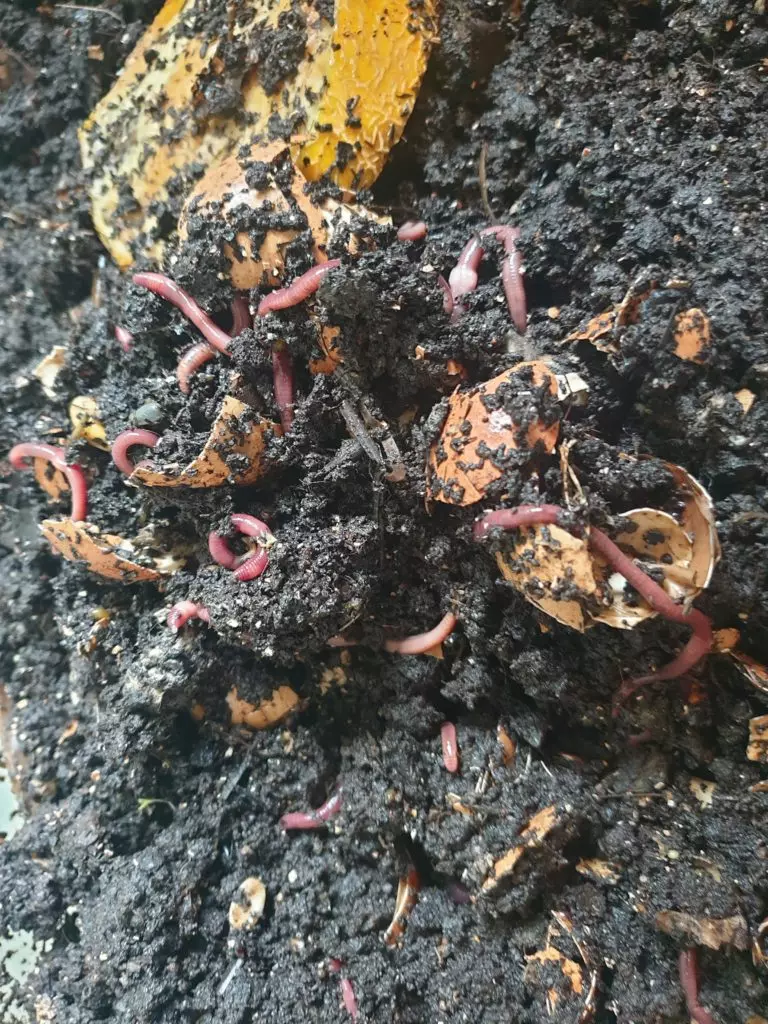
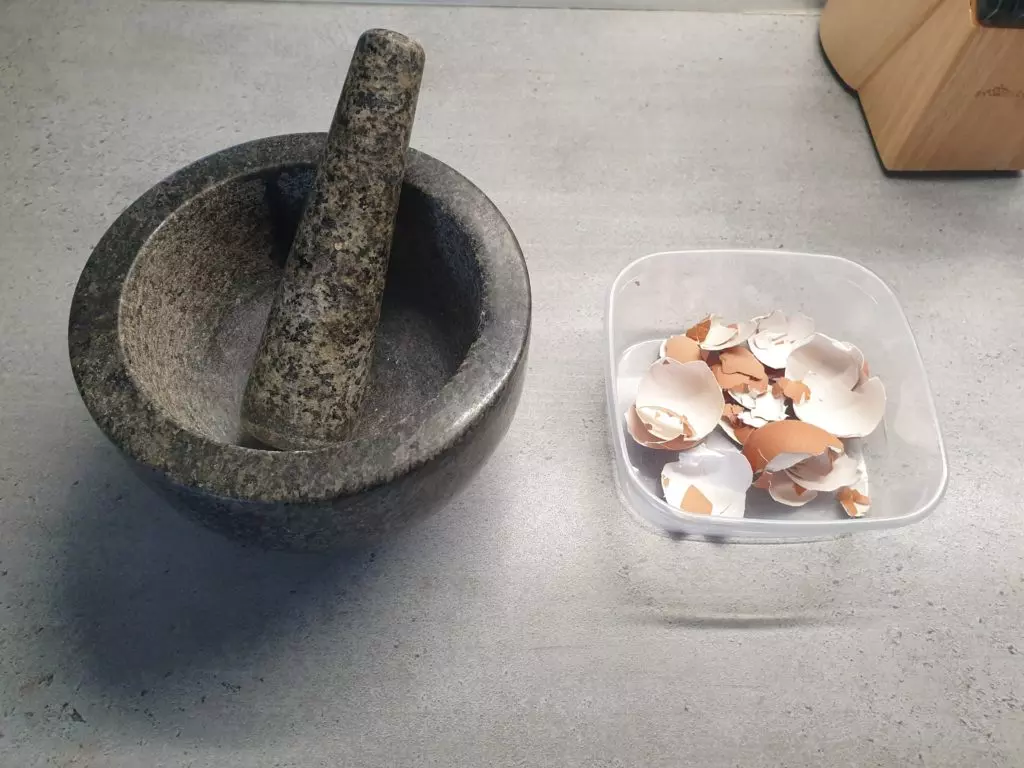
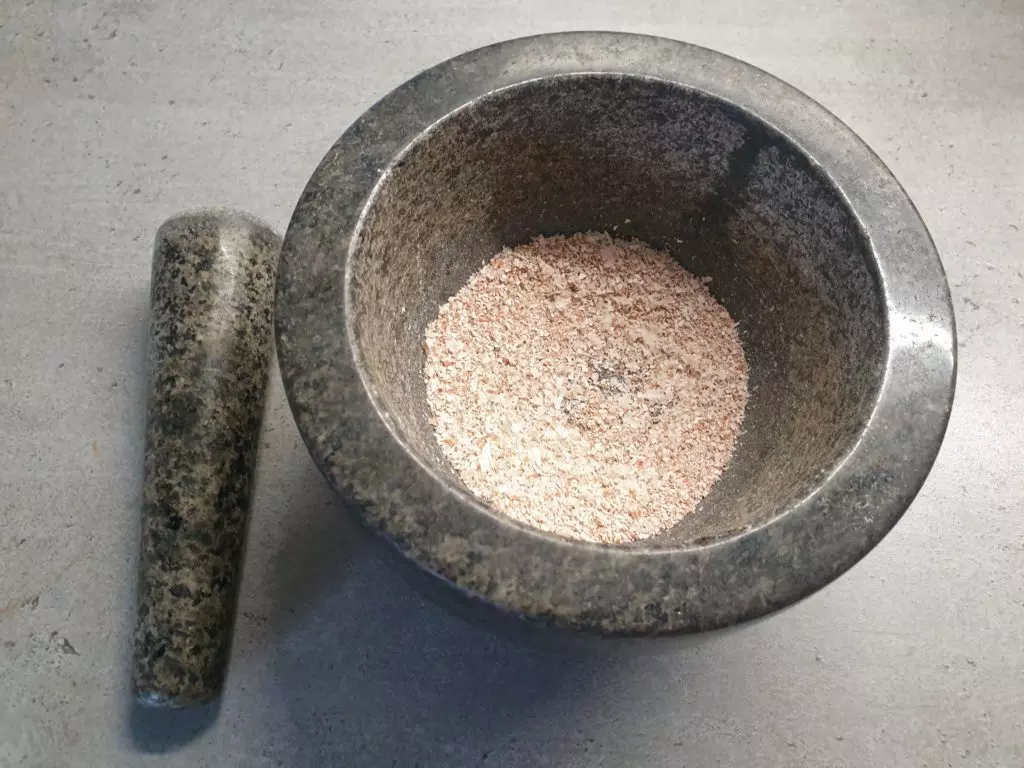
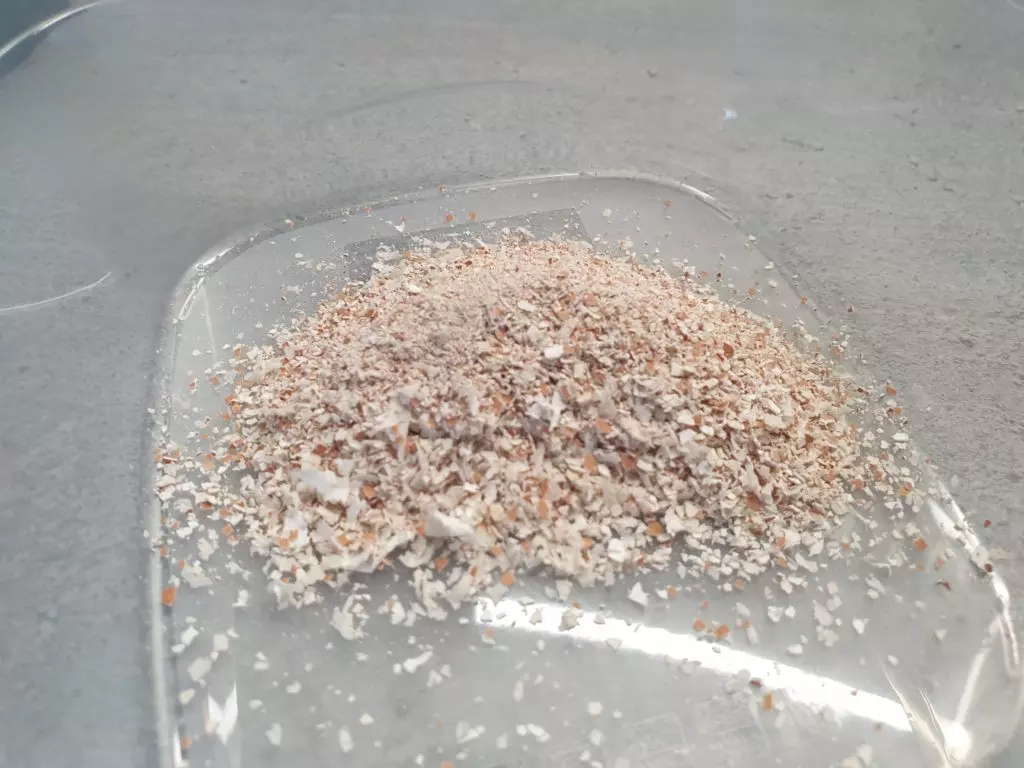
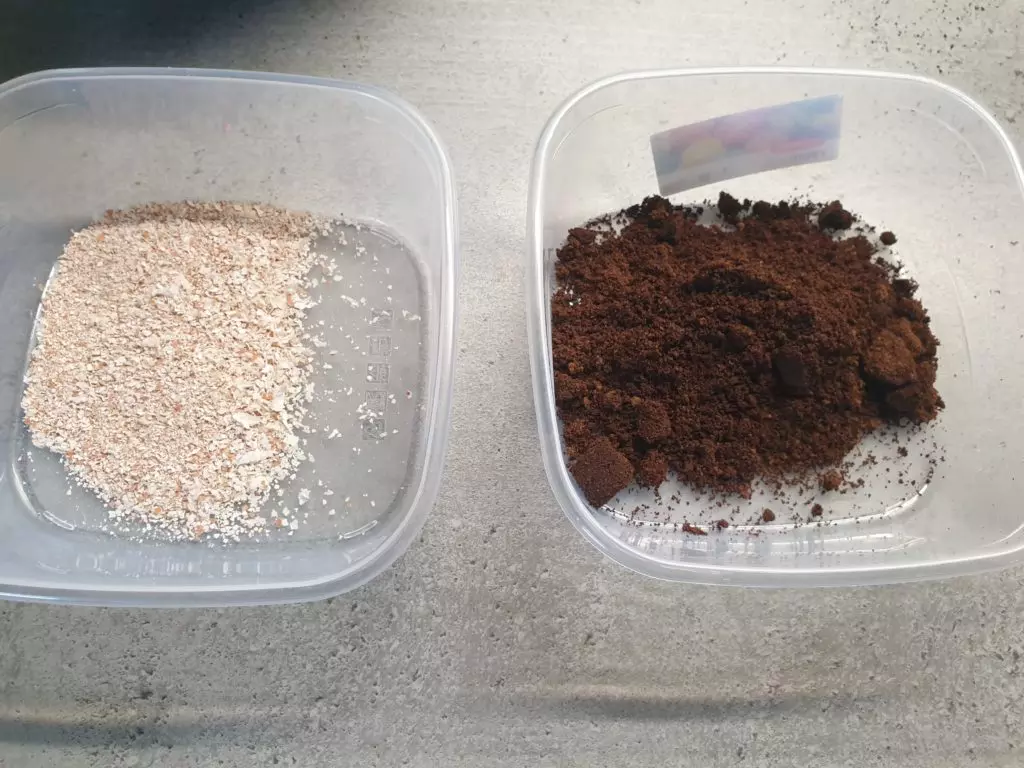
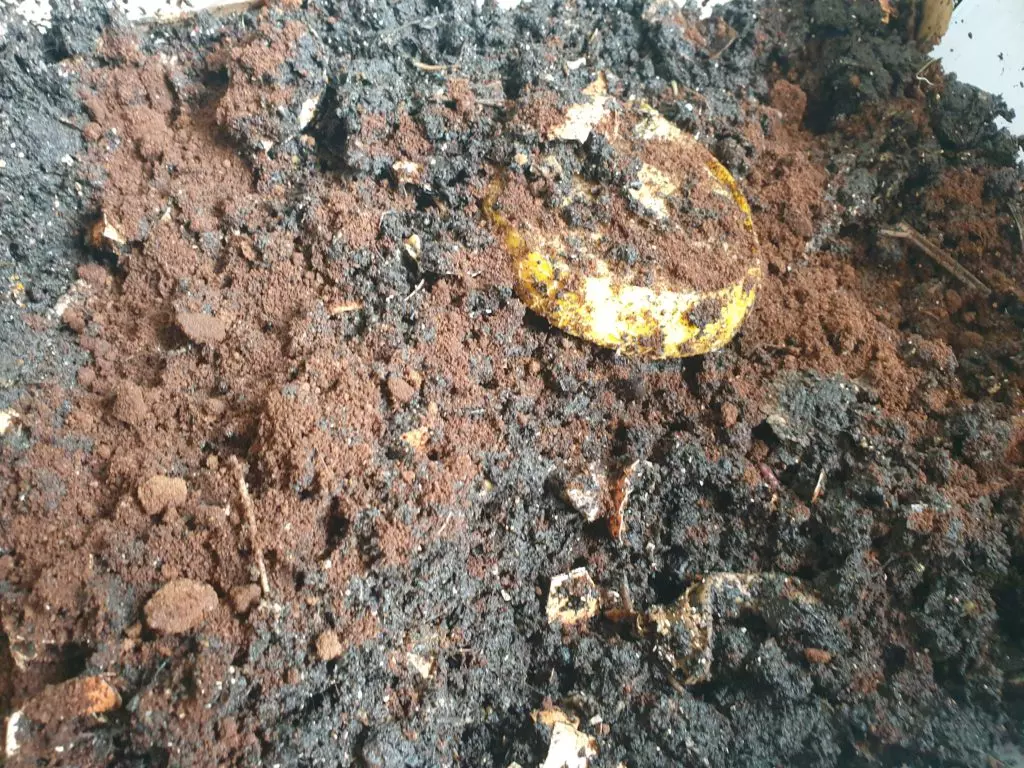
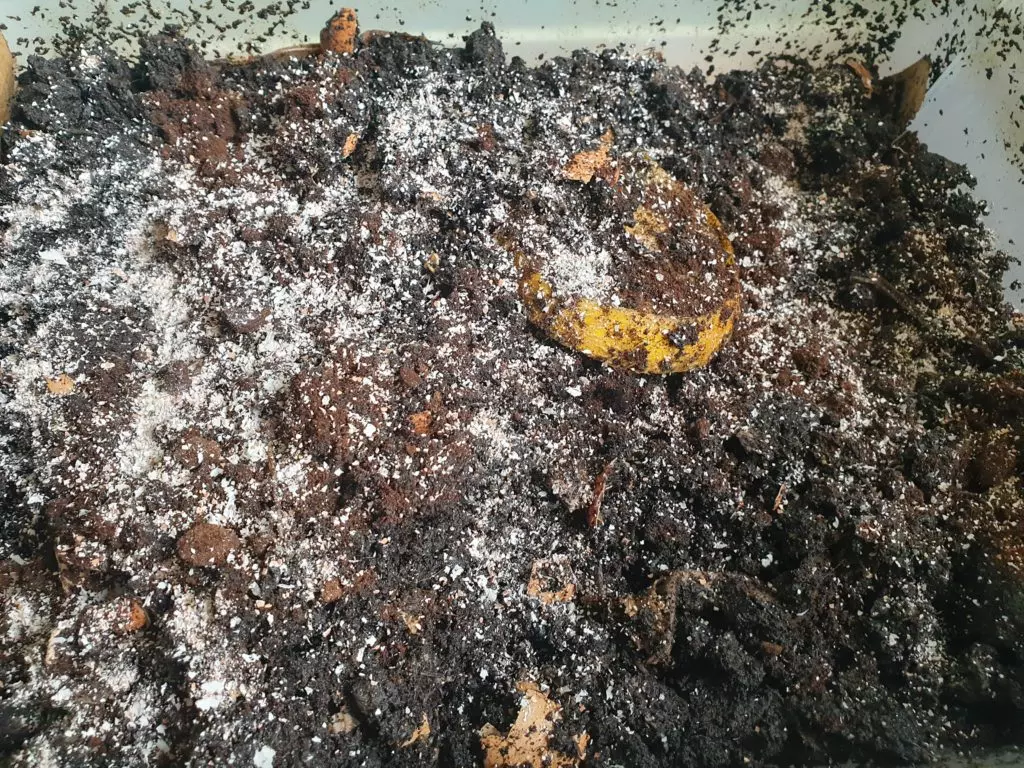
There are also a few things you should never put in your worm bin, like:
- All kinds of citrus fruits. You can add some to your bin, but the worms won’t love them.
- Dog poo, because it can contain dangerous parasites and bacteria.
- Meat, because it attracts maggots.
Cardboard on top
I always put a layer of cardboard on top of the bin, because worms love to eat the food in the dark. If you don’t put cardboard on the bin, they will mostly eat the food scraps at night instead of all day long. Also the cardboard helps to keep the moisture in the bin.
Leave them to do their job
As they continue feeding, worms will start excreting waste, otherwise known as defecating.
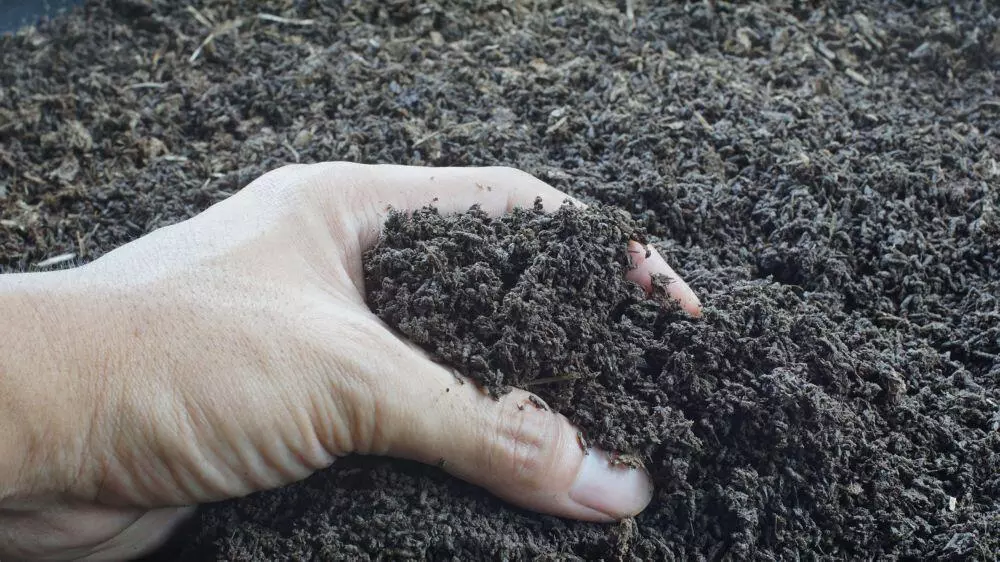
The waste will collect in the storage tray, which is inside the vermicomposter. By now, this isn’t waste but the organic fertilizer you want to use for planting your cannabis, simply worm castings. The worm casting looks like soil.
Harvest the castings
After weeks, you can remove the castings from the storage tray. But the best harvesting time is when the waste appears similar to homogenous soil.
When using a worm bin there is an easy way to get the castings out, without the worms still being in them.
Fill one side of the bin with food and new cardboard/shredded paper, and within 2 weeks all the worms will migrate the this food-rich side of the bin.
The basic of keeping worms for worm castings?
Worms are the single-most important thing in the entire process of generating worm manure. But you might wonder how many worms you should start with to make the entire vermicomposting process successful.
The number could vary due to several things. For instance, the number can be higher if you have plenty of organic waste to feed the worms. Ideally, you can start with at least 4 lbs. of worms. Even if you don’t generate a lot of waste at home, you can still feed such considerable number of worms with the little waste you have.
Compost worms should have a balanced diet. You can fed them the usual vegetable and fruit scraps. Feeding them with meat, processed foods and other dairy foods will only slow down their excretion mechanism, taking them longer to excrete.
The amount of food to feed your worms with depends on their number. On average, each worm should consume half the weight of its body. If you have 6 lbs. of worms for instance, feed them with at least 3 lbs. of organic waste.
Proper airflow in the vermicomposter is vital. Worms need oxygen for survival like any other creatures. Drill some holes in the vermicomposter to allow airflow inside, lest the worms suffocate.
3 ways to attract worms in your garden
The most convenient way of getting composting worms is simply buying them at the garden store. Some garden stores also sell worm eggs. But the hatching rate of eggs bought from the stores can be low.
The most natural way of getting worms is by attracting them to your yard. Here are easy ways of attracting composting worms to your yard:
- Till your yard at the fall of your winter- till your yard when winter is almost over. Worms hate cold and they will bury themselves deep into the yard during cold months. Till the yard at the fall of the winter. The worms will come up once the soil warms up. They will collect in huge numbers on the surface of the soil. Collect them as you prepare for vermicomposting.
- Lure them with foods-foods such as cornmeal can attract worms in big numbers during winter. Spread some cornmeal at a suitable spot in your yard. Keep spreading the cornmeal until you collect a substantive number of worms.
- Use compost and compost tea-dig a 6 inch-deep stretch on your yard. Add a 3-inch layer of compost to the stretch to attract worms. Worms will gather to feed on the compost. Make compost tea by mixing compost with water. Add the compost tea to the yard for about a fortnight. Worms are fond of compost and they will come out from their hidings at the slightest smell of compost.
How much do worms compost?
On average, a pound of red worms consists of 1000 individual worms. Whatever diet you are feeding a pound of worms, it shouldn’t exceed two large handfuls. It takes a pound of worms more than 24 hours to successfully compost a pound of waste.
The amount composted by worms isn’t definite. The amount varies significantly based on many things. For instance, adult worms compost more than their junior counterparts. Almost all worms need to consume at least half of their body to compost effectively. But male worms compost more unlike the females.
If your vermicomposter has many worms, then the worms will compost more. But if the number is low, they will compost much less. Evaluate how much your worms are composting. This is vital for figuring out the amount of organic trash or rather food, that you will give them. For a stable composting rate, don’t feed them too little or too much.
What is the perfect temperature for composting worms?
The perfect temperature for growing worms is 6 degrees Celsius. Most worms can withstand a wide range of temperatures like humans. Generally, worm population is stable when the temperatures are between 15 to 30 degrees Celsius.
Worms need favorable temperatures to grow and breed successfully. Too much heat or cold can affect them. If the temperature in the vermicomposter isn’t suitable for them, their reproduction rate will slow down. Once they are exposed to extreme temperatures, they can easily dies and become part of the compost.
Your vermicomposter should provide stable temperatures. If the temperatures inside are too cold, they will start crawling a lot. They will finally mass together into a ball. When exposed to hot temperature, they will start fleeing to cooler parts of the vermicomposter.
How much moist should I keep in the worm bin? when is it too moist?
If you are using a bin or vermicomposter to breed worms, ensure the bin has enough moist. Without enough moisture inside, the bin will dry. The recommended moisture level is 80%. Excess moisture isn’t good for worms either. It makes them uncomfortable. Worse still, the moisture can ruin worm eggs, finally reducing the worms’ population. Add moderate amount of water to the compost, or otherwise the matter you are feeding the worms with will become dry and hard.
But don’t add plenty of the water to the bin, or food scraps that could be dripping wet. If you realize there is too much moisture in the bin, add a dry bedding. Put a drain at the bottom of the bin to drain the excess water before it stagnate inside eventually creating a mess. You can tell when bin has too much moist.
The bed will start dripping wet. Also, worms will start fleeing and crawling on the sides of the bin. When moist is excess, add more bedding. You can also transfer the worms to another bin altogether.
Here is a video about moisture control in worm bins:
Creating compost tea with worm castings (in 6 steps)
Compost tea is made by steeping or brewing compost. Although compost tea may not be appetizing for you, your cannabis plants will appreciate it! You can create a special tea using compost and worm castings. The beneficial microbes and nutrients in the tea can easily be absorbed in the water, eventually turning to a liquid fertilizer.
You can use worm castings to make compost tea in two ways. First, you can make the tea using the simple steeping method or aerated/ brewed method.
Here is how simple steeping method works:
- Find a good compost tea bag. You can make one using an old t-shirt.
- Fill the tea bag with worm castings. Tie the opening of the bag tightly
- Submerge the teabag into a large water container, preferably a bucket. The size of the container should be used depending on the amount of worm castings you have.
- Let the container sit overnight. You can remove the teabag in the morning. By then, the water will have turned light brown in color.
- Water the yard with this water. The water has all the beneficial microbes from the worm castings.
- You can also remove the castings in the bag and add use them in your garden as fertilizer.
Aerating/ brewing method
While brewing compost tea using this method, follow the steps you used in the simple steeping method above. Except that you will add a sugar to the castings. You will also have to introduce an aeration device.
Combined, aeration and the sugar will stimulate the microorganisms in the castings.
These steps below will help you brew your compost tea with ease:
- Put at least six cups of fine worm castings in a container. Add roughly for litters of water to the container. Rain water is normally recommended here since it isn’t chlorinated.
- Add an ounce of molasses. The molasses is crucial here since it works like a source of food for the microorganisms in the castings to feed on. Sugar can also be a perfect food source for these microorganisms.
- Place an aerating device at the bottom of the container. Keep the device working for at least 3 days. You should keep stirring the water regularly.
- Water your cannabis with the water immediately after brewing is over.
4 reasons your worms are dying
Worm death can ruin all the efforts you made to create worm manure for your marijuana plants. Although worms can be pretty tough, they can easily die when exposed to certain conditions. At times, you might not discover that your worms are dying, until you see a couple of them dead. But there are obvious signs to confirm your fears over a possible worm death.
For instance, less feeding among worms may signal possible death. That shows there aren’t enough worms in the bid to feed on the trash. As a result, the trash will continue pilling and become smelly. Many things can be associated with worm death. They include for instance-
Moisture – lack of moisture or excess moisture can pronounce death to worms. Check the moisture level in the bin or vermicomposter and ensure it is stable.
Temperature – worms can’t withstand violent temperatures. They die almost instantly when exposed to unfavorable temperatures. To save the dwindling number of worms from possible deaths due to harsh temperatures, move the bin to a shady area where sun rays won’t shine on it directly.
Air circulation – lack of air circulation can also lead to worm death. Even though your bin or vermicomposter may have holes already, they could have clogged with time. Keep checking whether all holes are open and unclog the clogged ones. Clogging can lead to oxygen starvation leading to worm death.
Food – the foods you are feeding the worms could be toxic hence causing their deaths. Again, lack of food can starve the worms to death. When food is too little, worms can feed on their castings. Castings can be toxic to worms.
Although excess food isn’t associated with death, it can stop worms from reproducing fast enough. If you observe that the worms aren’t reproducing fast enough, the best way forward is to stop feeding them. They will go into ‘survival mode’ if feeding is halted instantly. While in such a situation, they will start laying plenty of eggs hence raising their reproduction rate.
Worms crawling to the surface usually means something is wrong
Have you noticed worms crawling to the surface of the bin or vermicomposter? It means something must be wrong inside there. Crawling means escaping. Multiple reasons can be attributed to crawling.
First, they can crawl if the weather is sensitive. Lack of oxygen inside the bin could force worms to crawl to the surface as they search for oxygen. Rising populations in the bind can also make worms to flee. They can start crawling on the surface to find space when the bin is too congested.
Unfavorable PH levels in the bin can scare away worms. Some food sources such as excess coffee grounds can make the bin too acidic for worms to live. High acid levels also ruin worm eggs hindering them from hatching. The best PH level for worms is about 6 to 8. If you think the worms are fleeing the bin due to acidity, add alkaline substances such as crashed eggs to stabilize the PH level.
Conclusion
Using worm castings as fertilizer for your cannabis plants can pay off a great deal. From producing high yields to improving the overall quality of cannabis, worm castings have tons of benefits when used for cannabis growing. Make your own worm castings today and witness how this organic fertilizer will do wonders to your plants!
How to use worm castings in the garden
How to grow worm castings
How to apply worm castings to plants
Is worm castings good for plants
How much worm castings for weed

